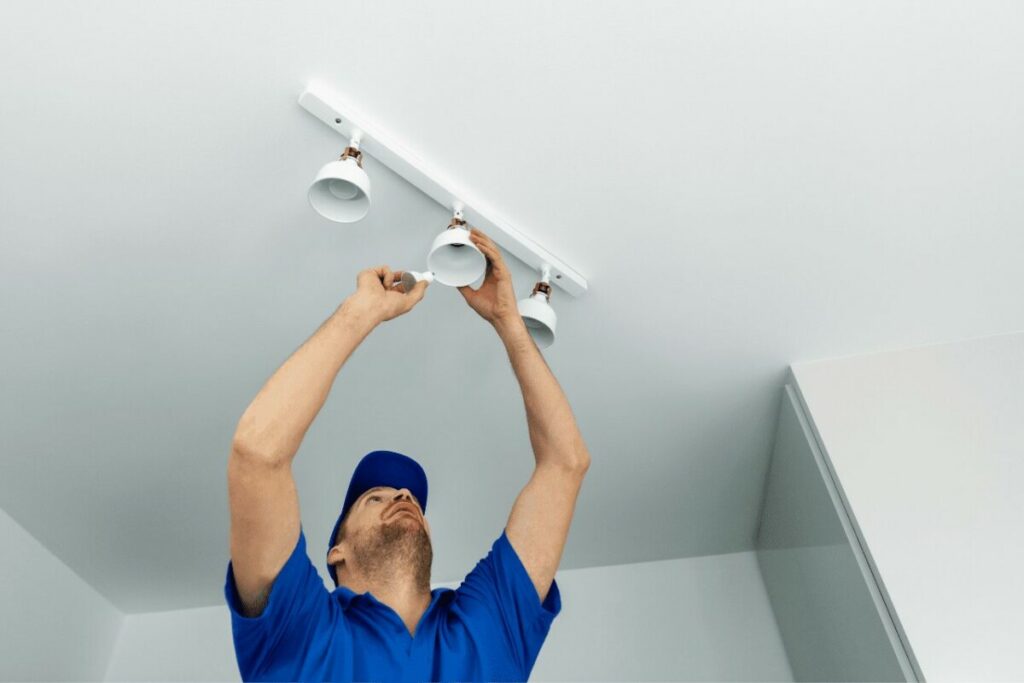
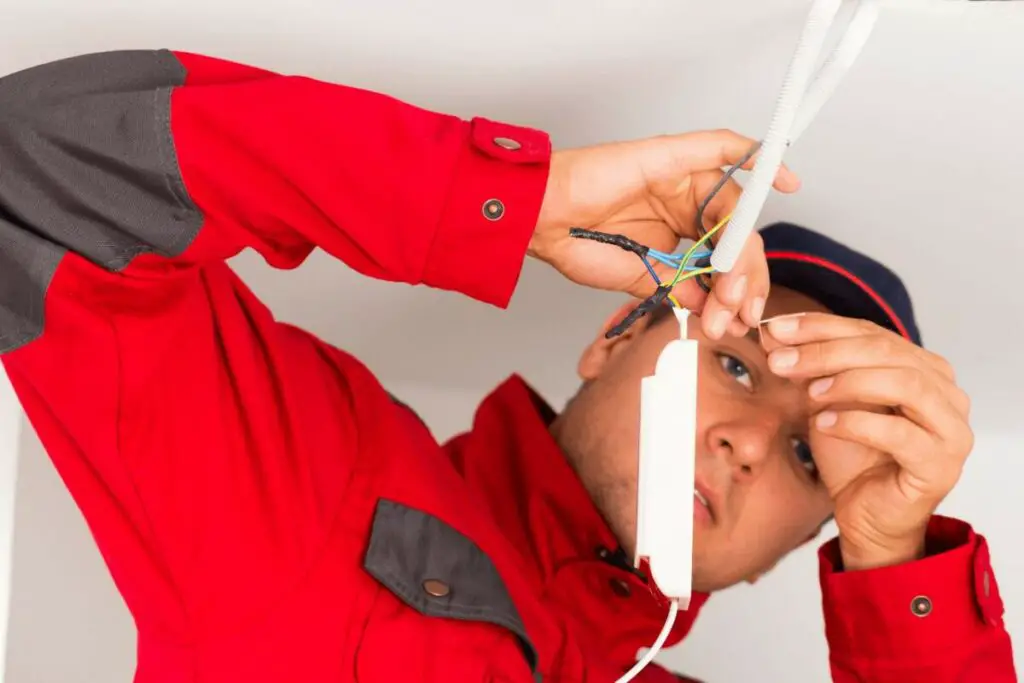
LED lights are renowned for withstanding wear and tear, enduring the test of time, and adapting to any aesthetic. But what happens when the lights go out, and you’re left in the dark? Is it lights out for the LED, or can LED lights be repaired?
Yes, LED lights can be repaired. If the issue is with the power supply, wiring or connections, or circuit board, replacing or repairing these components is possible. However, if the LED itself is damaged, it will likely need to be replaced.
But how exactly do you fix your LEDs and restore them to their former glory?
In this guide, we will explore whether or not LED lights can be repaired and document seven simple steps to fix your LED lights at home. Grab your tools and hop in!
Can LED Lights Be Repaired?
LED lights have an edge over incandescent lights as they are brighter than most incandescent lights while consuming less energy. However, like most electrical sources, LEDs are not immune to needing repair.
Most LED lights can be repaired or replaced based on the severity of the issue. But if LEDs have been used for a long time, they might malfunction or be subject to lumen degradation. In worst cases, LED lights can even burst. The only option is to replace the old LED lights with new ones.
How to Know if it is possible to Fix LED Lights?
Before attempting to troubleshoot and repair your LED lights, it’s important to check and test them thoroughly. You can do this by removing the LED from the socket and then putting it back on.
This small test will take you one step further to know if it is possible to fix LED lights or if they should be replaced entirely.
How To Repair LED Lights in 7 Simple Steps?

LED lights are highly durable and long-lasting, so they usually don’t need repairs very often. However, if you encounter an issue with your LED lightbulb or strip lights, it could be worth trying to fix it yourself and embracing your inner DIY skills.
To repair LED lights and bulbs, identify the main problem, check for loose connections or damaged components, replace the faulty components, and reassemble the fixture. Finally, test the fixture to ensure it works properly before reconnecting the power.
However, the information provided so far only scratches the surface of the full tutorial.
Identify What Causes LED Light To Fail
Fixing your LED lights begin with identifying the problem area of the trouble. One thing to check is the electrical supply.
If your LED lights are plugged into a socket, ensure there’s no dust in the socket that could disrupt the power supply. If your LED lights are battery-powered, ensure the battery works properly.
Once you’ve found the pulse of the problem, it’s time to unravel your inner Tinkerbell and fix those malfunctioning LEDs.
Materials Needed To Begin Mission “LED Light Repair”
- Electrical tape
- Gloves
- Faulty LED bulbs replacement
- LED light repair kit
7 Steps To Fix LED Bulbs and Strip Lights
It’s time to bring your LED lights back to life!
The following set of easy-to-follow instructions will give you everything you need to repair those malfunctioning LEDs successfully and get your lights shining brightly once again:
Step 1:
Turn on your LED lights and wrap electrical tape around bulbs that are not working.
Step 2:
Unplug the LED lights to cut the power supply and save yourself from getting a shock.
Step 3:
To start the repair process, locate the piece of tape that marks the first LED light in the fixture. Once found, gently grip the LED above the plastic covering and give it a firm tug until it releases from the fixture.
Step 4:
Now that you’ve removed the faulty LED, it’s time to find a replacement. Head to a reputable lighting supply store and bring the removed LED. Show it to the staff and ask for an exact match. Purchase as many replacements as needed to replace all the defective lights.
Step 5:
With your new LED in hand, it’s time to install it. Insert the plastic and metal end of the LED back into the socket you removed, ensuring it is firmly in place. Make sure to orient the plastic covering of the lamp so that it is pointing away from the socket.
Step 6:
Now that you’ve successfully replaced the faulty LED, it’s time to tackle the rest. Replace all the other LEDs marked with electrical tape like you replaced the first one.
Step 7:
Once you’ve replaced all the faulty bulbs, plug in the LED lights to test if they work fine and bask in the glow of your fully functional LED lights!
| Word of Caution Attempting to repair an LED bulb can be dangerous and potentially life-threatening. LED bulbs contain delicate components that require specialized tools and knowledge to handle properly. If you’re not confident in your skills, it is highly recommended that individuals seek professional help. |
Final Solution: LED Replacement
When most incandescent lights burn out, there is no option but to throw them out. But good for you — most issues with LED lights can be repaired except for one issue — LED burnouts.
If an LED burns out prematurely, it may be due to voltage fluctuations or overheating. However, if an LED bursts, it must be replaced as it cannot be repaired.
Moreover, LEDs may also degrade over time until they become very dim. This lumen degradation indicates the need for replacement when the light output is insufficient for your space.
FAQs: LED Light Repair
How to repair LED ceiling lights?
To repair an LED ceiling light, you first need to identify the problem with the light. This may involve checking the wiring, the LED driver, or the LED module itself. Once you’ve identified the problem, you can replace or repair the faulty component.
How to fix an LED light fixture?
To fix an LED light fixture, you may need to replace a faulty component, such as the LED driver or the LED module itself. You should first identify the fixture’s problem and obtain the necessary replacement components.
How to replace LED strip ceiling lights?
To replace an LED strip ceiling light, you should first turn off the power to the light fixture. Next, remove the old LED strip by gently pulling it off the fixture. Install the new LED strip by aligning the contacts and pressing them into place. Finally, turn the power back on and test the new LED strip to ensure it works properly.
How to fix the LED light strip connector?
To fix an LED light strip connector, you may need to re-solder the connections or replace the connector altogether. First, identify the problem with the connector and obtain the necessary replacement components. And voila! You have fixed your LED light connector.
What to do if your LED lights stop working?
If your LED lights stop working, you should check the power source and ensure the light is properly plugged in. If the power source is working properly, you may need to replace a faulty component, such as the LED driver or the LED module.
What happens when LED lights burn out?
LED lights may flicker, dim, or stop working altogether when they burn out. This is due to the degradation of the LED module over time. LED lights generally have a longer lifespan than traditional incandescent bulbs, but they will eventually burn out and need to be replaced.
What causes LED light to fail?
LED lights can fail for various reasons, including overheating, voltage fluctuations, and manufacturing defects. Overheating is a common cause of LED failure, as it can cause the LED module to degrade and eventually burn out. Voltage fluctuations can also damage the LED module, and manufacturing defects can lead to premature failure of the light.
Wrap Up!
Unlike incandescent lights, which burn out when they stop working, LEDs gradually dimmer over time. This lumen degradation can cause eye strain and headaches, making repairing or replacing your LEDs essential.
So now you know how to repair LED lights and bring them back to life. Consider investing in high-quality LEDs to avoid the hassle of repairing or replacing them frequently. When purchasing new LEDs, ensure they are compatible with your existing fixtures, or you may need to replace them.
Got more questions like “Can LED lights be repaired”? Drop them in the comments below and we’ll be happy to help.

Hi to every one, as I am in fact eager of reading this website’s post to be
updated regularly. It includes good stuff.
I just like the helpful information you supply on your
articles. I will bookmark your weblog and
check once more here frequently. I’m fairly sure
I’ll be told many new stuff right here! Good luck for the next!