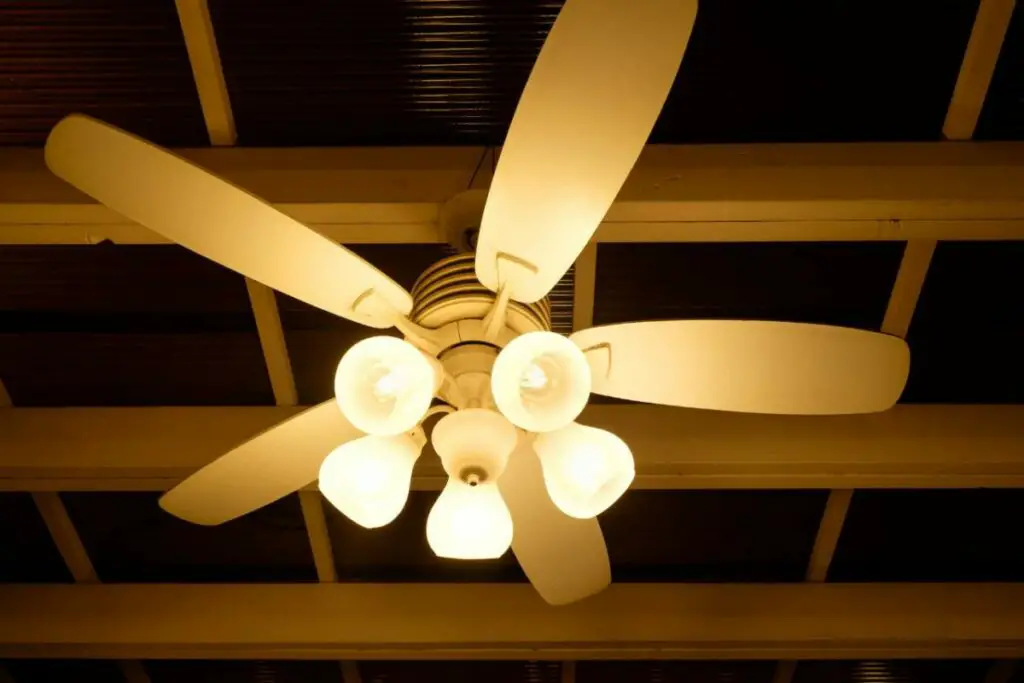
Want to swap those outdated, boring old ceiling fan lights but wondering if you can replace LED lights in ceiling fans? We’ve got you covered!
Yes, you can replace LED lights in ceiling fans by removing the old light and installing the new one according to manufacturer instructions or the ceiling fan LED lights kit guidelines.
In this blog post, we’ll explore the ins and outs of replacing LED lights in ceiling fans and the steps you should take to replace LEDs safely.
Let’s dig in!
Can You Replace LED Lights in Ceiling Fans?
Staring at that broken fan light in dismay, wondering how to change a LED light bulb in a fan? We feel you!
But before we answer the main question, it’s important to note that not all ceiling fans are created equal. Some fans come with fancy built-in LED lights that can’t be replaced, while others feature removable LED light kits that can be swapped out easily.
Fundamentally, there are two major types of LED ceiling fans:
- Fans with integrated LEDs
- Fans with user-replaceable LEDs
So, before you start the replacement process, you need to determine whether your ceiling fan has a removable light kit.
You can easily replace the faulty LED bulb if your fan has user-replaceable LEDs. However, if you have a fan with built-in lights, it might be difficult to change the bulb.
How to Replace a Light Bulb in a Ceiling Fan?
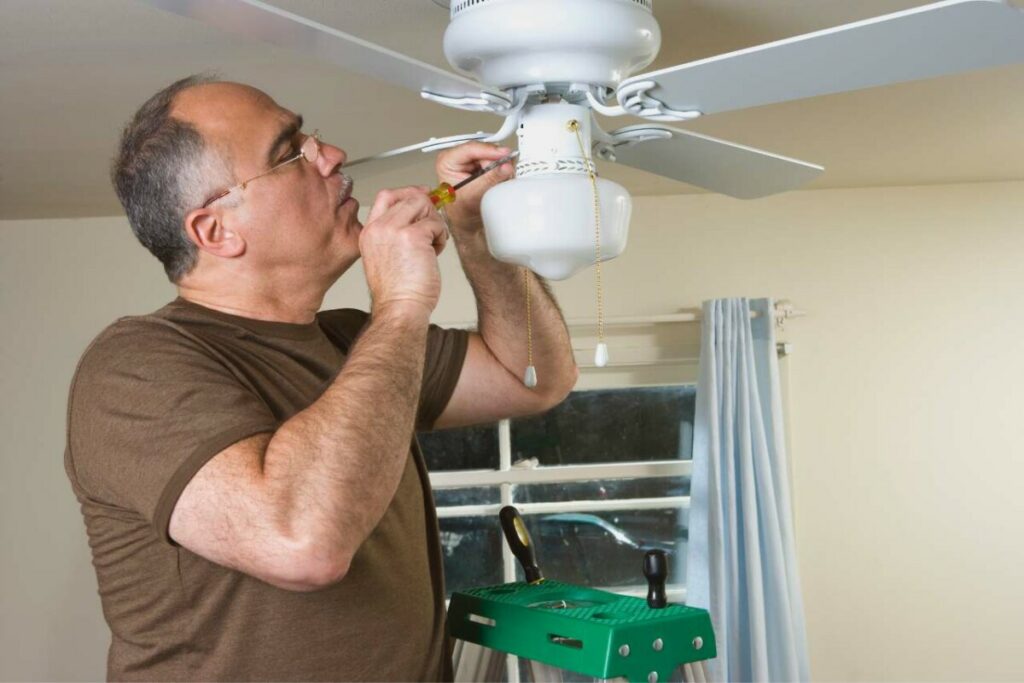
With a little know-how and the right tools, you can transform your ceiling fan from a cooling machine to a stunning décor piece. To successfully replace a light bulb in a ceiling fan, gather the enlisted tools and follow the 7 steps:
Materials and Tools
- Screwdriver
- Voltage tester
- New LED light bulb for ceiling fan OR ceiling fan replacement light kit
- Safety gloves
7 Simple Steps to Follow
This is how to change the light kit on your ceiling fan in a few simple steps:
STEP 1: Turn Off Your Electricity
Go to your breaker panel and flip the circuit breaker connected to your fan to turn it off. Along with the circuit breaker, turn off the light switch connected to the fan in the room as well.
STEP 2: Remove The Old Light Fixture
Unscrew the globe by rotating it and remove the light bulb from the old light kit. You can locate the screwdrivers that secure the old light fixture. With the help of a screwdriver, unscrew the light fixture and gently pull it away from the fan.
STEP 3: Detach The Existing Connected Wires
Your fan would have connections to both the fan and the lights. Disconnect these connecting wires by removing the nuts on them. The caps will have to be twisted in a counterclockwise direction to unscrew. Ensure the caps are placed somewhere safe because they will be needed later.
STEP 4: Remove The Previous Kit
Once the wire nuts have been removed, pull the existing wires apart and remove the old fixture.
STEP 5: Reconnect The Wires To The New Kit
Pass the wires through the hole in the center plate of the new fixture and screw the wire nuts back onto the wires in the new fixture.
STEP 6: Secure The Light Kit Back on
Hold the new replacement led light kit for the ceiling fan into place and put the screws back on.
STEP 7: Turn on The Electricity
Turn the circuit breaker on and turn on the light switch to ensure your fan works fine.
| NOTE It is recommended to use kits that the fan manufacturer has specified for safety purposes. Most kits come with instructions at the back. Refer to them if your light fixture is secured differently. |
How To Replace LED Lights in Ceiling Fans With Integrated LEDs?
Ceiling fans with built-in LED lights are trendy, sleek, and modern!
The LED panel is flat, so it fits perfectly into the fan base. You won’t have to replace the LED panel as often as a regular incandescent light bulb.
For this ceiling fan LED light replacement, you’d have to get an electrician and source the parts from the shop you bought the fan from.
How To Replace LED Lights in Ceiling Fans With User-replaceable LEDs?
Ceiling fans with user-replaceable LEDs are easier to replace than those of integrated LED panels. They contain an individual driver, which can be replaced easily. You only need to be mindful that the LED panels are particular to the individual model.
To replace LED lights in ceiling fans with user-replaceable LEDs, switch off the ceiling fan, and remove the existing light bulb panel by unscrewing it. Lastly, screw on the new LED bulb panel to the ceiling fan fixture. And Voila! Your fan light is good as new.
How To Replace LED Lights in a Ceiling Fan With an E27 or B22 Fitting?
Some ceiling fans are suitable for traditional-looking globe bulbs. These bulbs are readily available and are the easiest to install in ceiling fan fixtures. The fans they are compatible with look different than the regular LED panels. These bulbs usually fit inside a glass bowl.
To replace led lights in a ceiling fan with an E27 or B22 fitting, replace these led lights, simply unscrew the bulb from the holder and then screw on the new bulb in place.
How To Replace LED Lights in a Ceiling Fan With Add-on Light Kits?
Some fans enable you to add a new light kit after installation. The kits are easier to find than certain parts of the panel, thus making them easier to replace.
To replace LED lights in a ceiling fan with an add-on light kit, simply purchase a suitable and compatible ceiling fan replacement light kit and follow the instructions on the light kit box. If you’re not savvy with electricity or wiring, you will require an electrician.
FAQs: Ceiling Fan LED Lights
Can you replace LED lights in a light fixture?
Yes, you can replace LED lights in a light fixture. However, it is important to ensure that the replacement LED lights are compatible with the fixture and that proper safety measures are followed during installation.
How do I remove and replace the LED ceiling light?
To remove and replace an LED ceiling light, turn off the power supply and gently twist and pull the light fixture down from the ceiling. Remove the old LED light bulb and insert the new one, ensuring it is securely placed before reattaching the fixture to the ceiling.
Can an integrated LED light bulb be replaced?
An integrated LED light bulb may or may not be replaceable. If it is replaceable, you must carefully remove the cover or casing to access the bulb. Follow the manufacturer’s instructions and use a compatible replacement bulb.
How do you remove a fan light bulb cover?
To remove a fan light bulb cover, turn off the power supply and gently unscrew or unclip the cover from the fan. If the cover is stuck, use a gentle twisting motion to loosen it. Once removed, you can replace the light bulb and then reattach the cover.
How do you change a lightbulb in a high-ceiling fan?
To change a lightbulb in a high ceiling fan, use a ladder or a tall step stool to reach the ceiling. Alternatively, an extendable pole with a suction cup or clamp at the end can be used to change the old lightbulb with a new one.
Conclusion: Enjoy Your New LED Light For Your Ceiling Fan!
A ceiling fan with LED light combines the best of both worlds. With the right LED ceiling fan, you can enjoy energy efficiency and a stylish addition to your home décor.
Consider investing in a high-quality ceiling light. Premium quality LED fixtures are designed to last long, so you won’t have to worry about constantly swapping out bulbs.
Got more questions like “Can you replace LED Lights in ceiling fans”? Drop them in the comments, and we’ll be happy to help you.