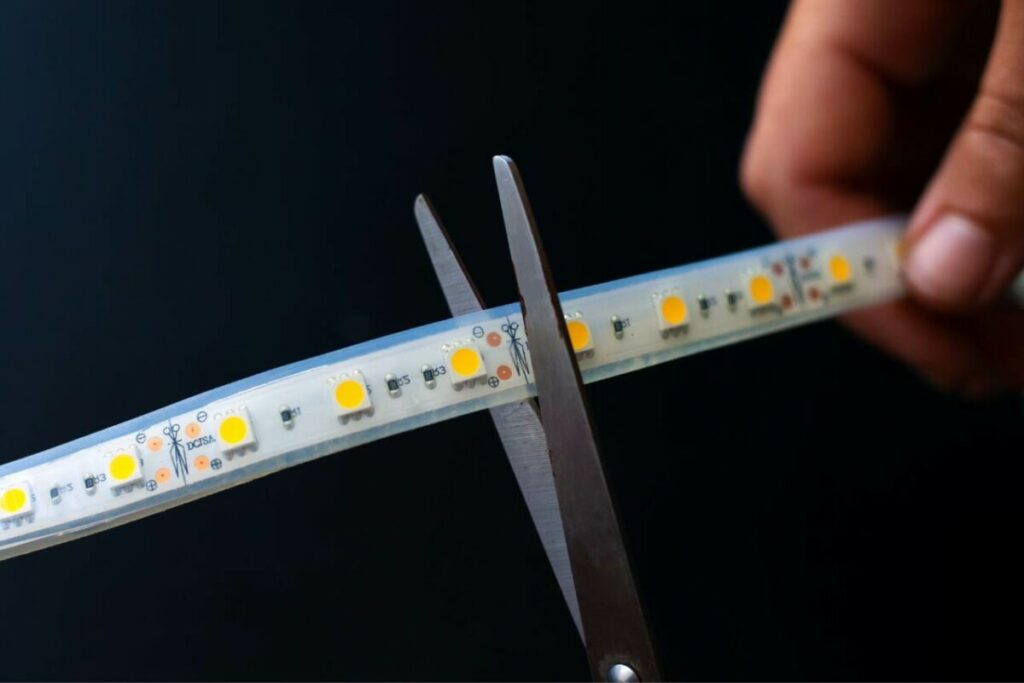
Cutting your LED strip lights at the wrong spot can leave you breathless and make your heart skip a beat. But fear not! You can easily fix cut LED lights by yourself and revive them to their full glory.
To fix cut LED lights, you will need a soldering iron, solder, and a 4-pin connector. First, find the cut in the LED strip and identify the four connection points. Next, solder the connections together using the soldering iron and solder. Now connect the 4-pin connector to the two ends of the LED strip and test it to ensure it is working properly.
Sounds easy, but this snippet merely skims the surface of the full tutorial, which we will cover in detail. In this thorough guide, we show you how to fix and cut your LED lights in quick and simple steps at home. Let’s dig in!
Can You Fix The LED Lights That Have Been Cut?
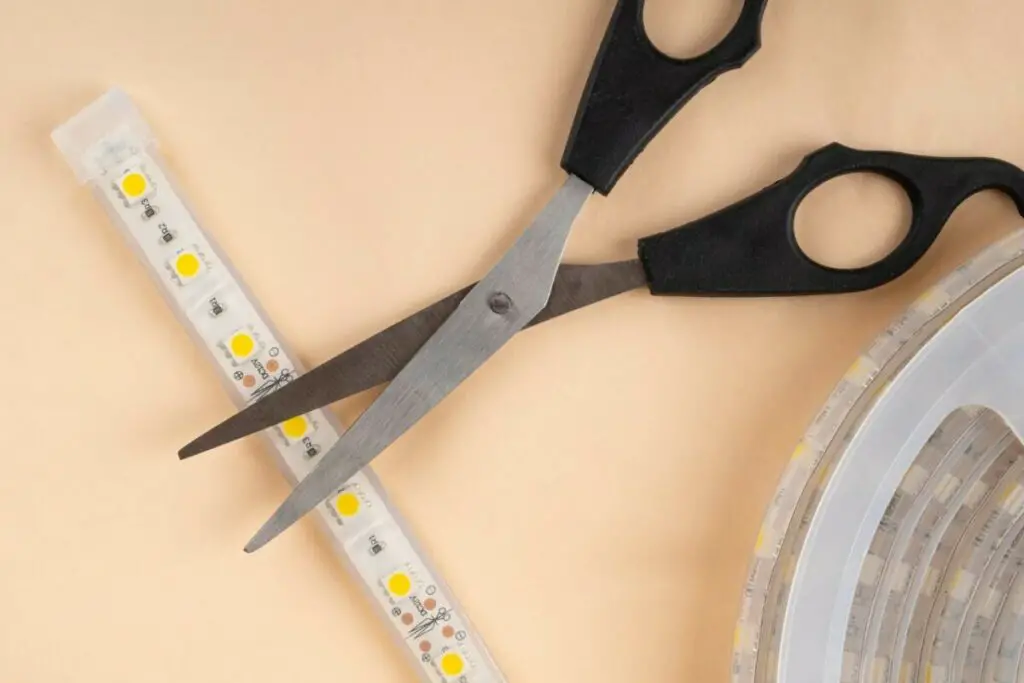
Yes, you can fix LED lights that have been cut by soldering the LED lights together or using a connector to complete the circuit. However, if the LED lights have been cut too close to a connector, you may be unable to fix them. In that case, you’ll have to purchase new LED lights.
But if you are lucky and your LEDs are only cut far away from the connector, relax — the situation is in control. In fact, it’s one of the best things about LED lights that you can repair and replace almost every part — including fixing a cut LED light strip.
All you need to do is simply evaluate the extent of the damage and locate the specific areas where the lights have been severed. Next, reconnect the cut ends and restore functionality to the LED lights. You may need additional components or tools to do that, but the strip light will be as good as new.
| Quick Safety Tip It is crucial to ensure the power is disconnected before attempting to repair your LED lights and bulb and to follow proper safety guidelines to circumvent potential hazards. |
How To Cut LED Strip Lights?
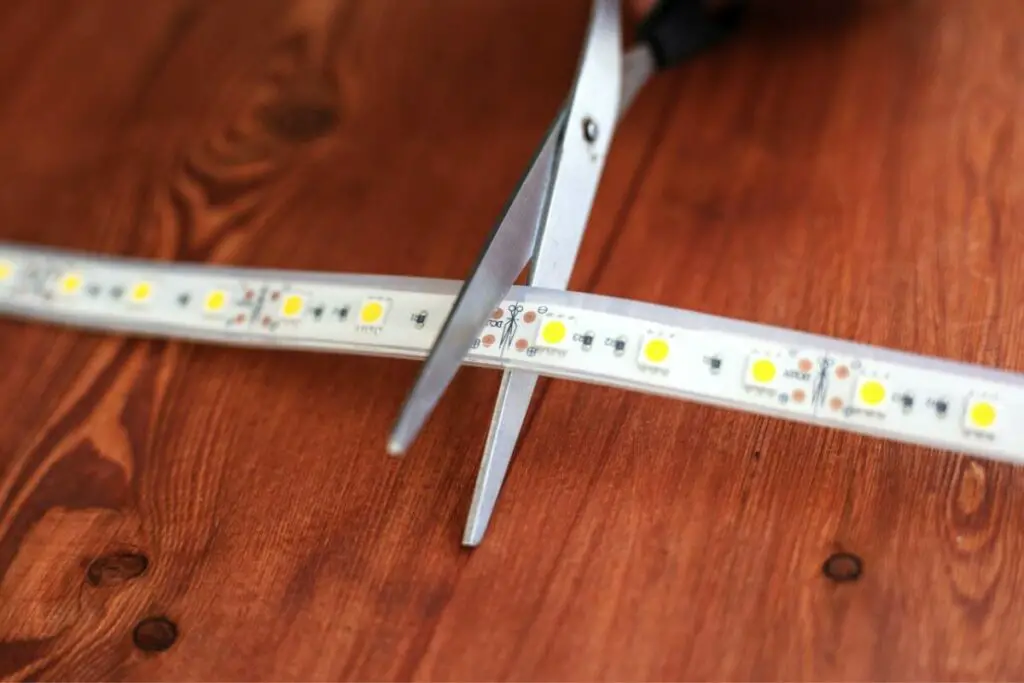
The neater, brighter, and more colorful your LED strip lights, the more they uplift the aesthetics of your room. To ensure this neatness, you need to cut and paste your LED strip lights the right way.
To cut LED strip lights, take a pair of sharp scissors and locate the scissors logo on the LED strip. This is usually a series of small, dotted lines running along the back of the strip. Once you have located the scissors logo, cut the LED strip directly on the line.
Sounds simple, but you must be careful while cutting the strip! If you accidentally cut it diagonally, you will make both pieces useless.
After measuring the strip against the length you want, look for the scissor sign – scissor or the ‘cut here’ mark. These signs will be accompanied by four connectors marked for voltage and three colors. Now, cut the strip at that point using a scissor.
If you cut anywhere other than the cut signs, you may render that light strip useless. In that case, you’ll have to figure out how to fix a broken LED light strip.
| PRO TIP Before cutting your LED strip light, measure the length of the strip you want to lighten up a space. Mark the strip one to two inches little longer than the estimated length. This will help you from going short on the strips and properly cover the desired space with light. |
How To Fix Cut LED Lights?
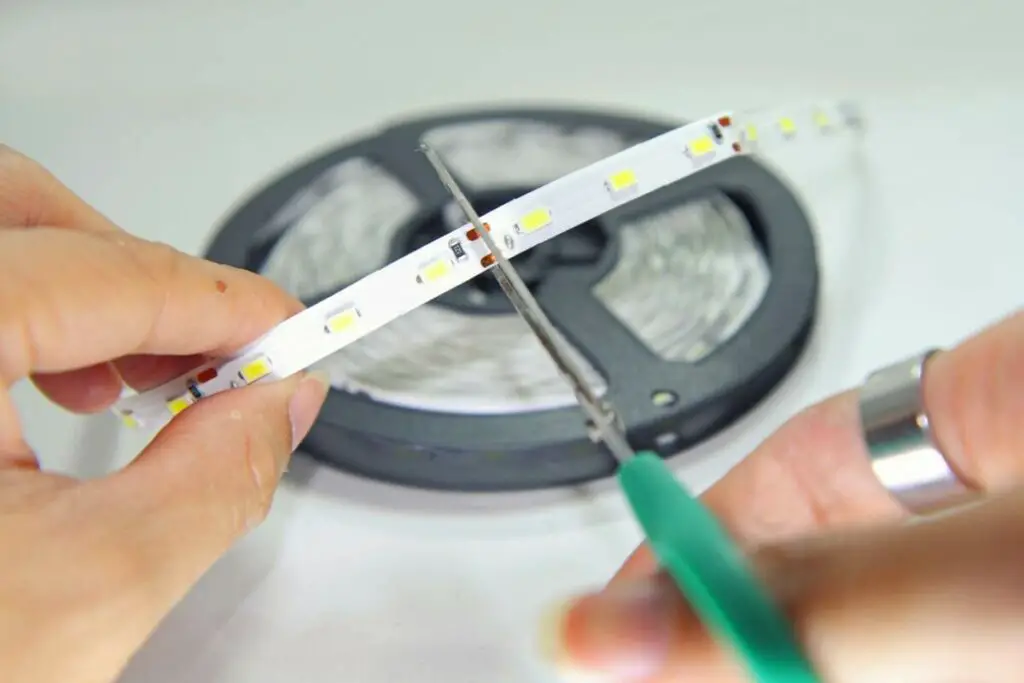
To fix cut LED lights, find the “cut sign” nearest the spot you mistakenly cut and carefully cut it there. Get a piece of the leftover or new strip light. You have to place the two pieces side by side so that every color mark matches the same in the other strip. These four connections will be labeled 12V, R, G, and B.
Solder the four connections on the new strip to the corresponding connections on the original strip. You can also choose to use a 4-pin connector compatible with your LED lights to connect the ends of both strips. Once the solder has cooled, your LED light should be repaired. If you’re using the connector to join the ends, attach the right color and voltage mark with each other to fix the LED light connector.
And your cut LED strip lights will be fixed — good as new!
However, if you cut the light strip diagonally or incorrectly, the circuit will be broken, preventing the lights from burning. Your only recourse now is to cut the faulty strip and use the leftover strip. If you don’t have a leftover strip from this cutting, buy the same strip light to complete the circuit and fix the cut LED light strip.
How To Use LED Strip Lights After Cutting?
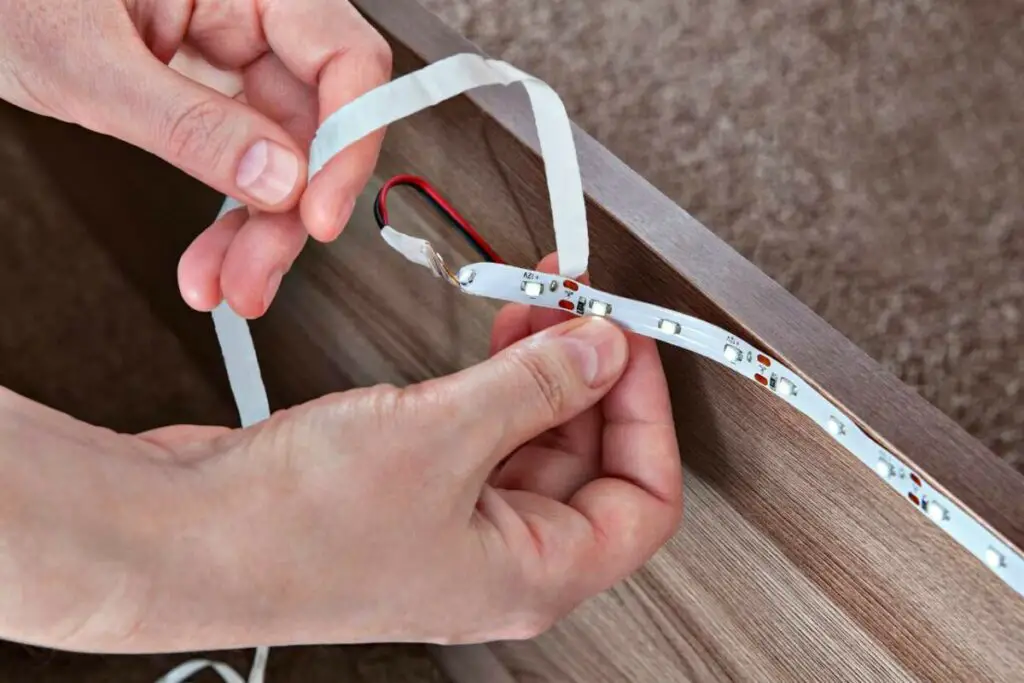
To use LED strip lights after cutting, you will need to use a 4-pin connector to reconnect the two cut ends of the light strip. Once the light strip is reconnected, you can clean the installation point, paste the LED light strip, and plug in power.
Here is a step-by-step guide where we detail how you can use LED strip lights after cutting:
STEP 1: Find a 4-pin Connector
You will need a 4-pin connector to use your lights after cutting. A 4-pin connector is a small, plastic device with four pins. The pins are used to connect the two cut ends of the LED light strip.
STEP 2: Place The Light Strip into The Connector
The connector will have a cover on it. Open the cover to access the pins. Place the two cut ends of the LED light strip into the fastening clips of the connector and close the connector. Once the light strip is in place, you can close the cover of the connector.
STEP 3: Clean The Wall
After cutting the strip light, you need to paste the fixed LED strip on the wall. Before this feat, ensure the installation point on the wall is clean and ready for installation. An adhesive strip will not stay long on a dusty or wet wall. You can clean the installation point with a damp cloth.
If your installation point is the same as the point from where you removed these lights, you may also need to clean the previous adhesive coat.
STEP 4: Paste The LED Strip Lights
Once the wall is dust-free, paste the fixed LED strip lights on the wall. You can paste the light strip to the installation point with double-sided tape.
STEP 5: Plug in The Power
Once the LED light strip is in place, use the light connector to connect your LEDs to an adapter. You need to be careful of the positive and negative polarities of the connector and your strips to connect successfully. If the ends don’t match, the strip may not work. The LED light strip should now be lit up!
How To Test LED Strip Lights After Fixing?
Your strip light should work fine if you have connected the right color connectors. But often, you fail to solder the connections rightly. In that case, use a multimeter to check if you have fixed LED strip lights.
To test LED strip lights after fixing, take a multimeter to test the voltage drop across each LED. The voltage drop should be between 2.1 and 3.6 volts. If the voltage drop is too low, the LED light is damaged and needs to be replaced. If the voltage drop is high, the LED is overheating and may be damaged.
Here is how to use a multimeter to check the operations of your light before pasting the strip on the wall:
- Set the range of the multimeter on diode testing.
- Connect the black probe of the light to the negative terminal of your LED strip and the red to the positive terminal.
- Connect probes to the multimeter front. The red lead will connect with the voltage or resistance output and the black with the COM output.
- Once you have completed all these connections, the strip should light up. If it doesn’t, you might not have connected the four connectors rightly.
How To Fix Cut LED Lights Without an Adapter?
Three things are essential for completing the electric circuit of strip lights:
- Soundly working strip lights,
- An LED connector, and
- An LED light adaptor.
If you cut the length of your strip light and find that it can be used in another area or room, you will sense some problems. You will only have the last two essential components missing in the circuitry.
Luckily, it doesn’t render the leftover strip light useless. You can easily buy an adapter and connector for the light or use an extra from your stock of electric supplies.
Once you have collected all the tools and supplies, take your LED strip that is rightly cut at the cut marks. Then, connect it with the LED driver while being mindful of its polarity. In the end, you have to plug in the adapter and use its controller to enjoy the light.
How To Fix Ripped LED Strip Lights Without Soldering?
Soldering doesn’t have to be essential to repairing and fixing LED strip lights of different colors. If you don’t have a soldering iron, use 4-pin connectors to make the project easier for you. Ensure that you procure the right connector that matches the sizes of your strip.
Start by cutting the strip after locating the cut mark. There, you will need to connect the 4-pin connector according to the light color and voltage marks given on it. Connect the second strip to the other side of the connector, and your strip is good to use. You need to confirm that you are connecting the right color and voltage mark of the two strips.
Once the two ends are connected, plug the LED strip into a power supply and enjoy your new lighting!
FAQs: How To Fix Cut LED Lights
How do you put cut LED lights back together?
To put cut LED lights back together, you’ll need to reconnect the severed ends. Soldering the wires together is the most reliable method, ensuring a secure and lasting connection. However, if you prefer to avoid soldering, you can use LED strip connectors, which provide a convenient and solder-free solution for reconnecting the cut LED lights.
How do you fix a ripped LED?
When an LED strip gets ripped, it usually results in a broken circuit, causing the LEDs to stop functioning. To fix a ripped LED, you’ll need to identify the damaged section and carefully reconnect the severed parts using soldering or LED strip connectors, ensuring proper alignment of the positive and negative terminals.
What happens if you cut LED lights in the wrong place?
Cutting LED lights in the wrong place can lead to undesired consequences. If you accidentally cut the LED strip in the wrong spot, it can disrupt the electrical circuit and cause the lights to stop working beyond the cut point. In such instances, you cannot fix the lights, and you need to replace the damaged section or the entire strip, depending on the extent of the damage.
How do you connect LED lights that have been cut?
To connect LED lights that have been cut, detect the positive and negative terminals of your LED strip light. Now Ensure the cut ends are clean and free of any debris. If soldering, strip a small portion of insulation from the ends of the wires and solder them together, matching positive to positive and negative to negative. If not soldering, use LED strip connectors designed for this purpose. Insert the cut ends into the connector, correctly aligning the positive and negative terminals. Close the connector to secure the connection.
How do you fix a cut LED light without soldering it?
To fix a cut LED light without soldering it, you can use LED strip connectors, as mentioned above. These connectors provide a simple and solder-free method of reconnecting the cut ends. Ensure you select the appropriate connector type that matches the specifications of your LED strip.
How do you fix LED lights when half is a different color?
When half of the LED lights are a different color, it indicates a potential issue with the circuitry or the LED chips, which could result from a manufacturing defect or a wiring problem. In such instances, it is wise to check the connections, make sure the wiring is correct, and ensure the LED chips are of the same type and quality. If all else fails, replacing the affected section or consulting a professional for further troubleshooting may be necessary.
How to fix the LED light connector?
To fix an LED light connector:
- Inspect the connector for visible damage, such as bent or broken pins. If the pins are damaged, gently straighten them using small pliers or a similar tool.
- Ensure the connector and the LED strip are clean and debris-free.
- Reconnect the connector to the LED strip, ensuring proper alignment of the positive and negative terminals.
- Secure the connector firmly, ensuring a reliable connection.
How to fix LED strip lights that won’t turn on?
If your LED strip lights don’t turn on, there could be several possible causes:
- Check the power source and make sure it’s functioning correctly. Verify that the power outlet is working and supplying electricity.
- Inspect the connections between the power supply, LED controller (if applicable), and the LED strip. Ensure they are securely connected and that no loose or disconnected wires exist.
- Confirm that the LED strip receives power by checking the voltage at the connection points. A multimeter or voltage tester ensures the power reaches the LED strip.
- If the power supply and connections are all in order, the LED strip may be faulty. In this case, you will have to replace the LED light strip or seek professional assistance to further diagnose and resolve the issue.
Conclusion: Easily Fix Cut LED Lights at Home!
LED strip lights brighten up our homes as well as add an aesthetic feel to our ambiance. The neater, brighter, and more colorful your LED strip lights, the more they uplift the aesthetics of your room.
However, if you’ve wrongly cut your LED strip lights, you can use the steps mentioned in this guide and easily fix cut LED lights. While this process may sound complex, even a non-tech-savvy person can accomplish this task.
So go ahead, fix your cut LED strip light, and complete that lighting project to shine your room even brighter.
